Working with Rejections
Reject from Grid or Payment Page
You can access the Reject button from the Cashiering grid or the Process Payment window. All the items that have been added to the order will be rejected. Then proceed with the rejection process.
Let’s say you have added an item to an order on the Cashiering Home screen and saved it. Now you can use the Reject button in the item row to reject it if necessary. Rejecting one item clears all items from the grid.
NOTE: The Reject button does not appear in non-recordable item rows.

To reject a recordable item, click the Reject button.

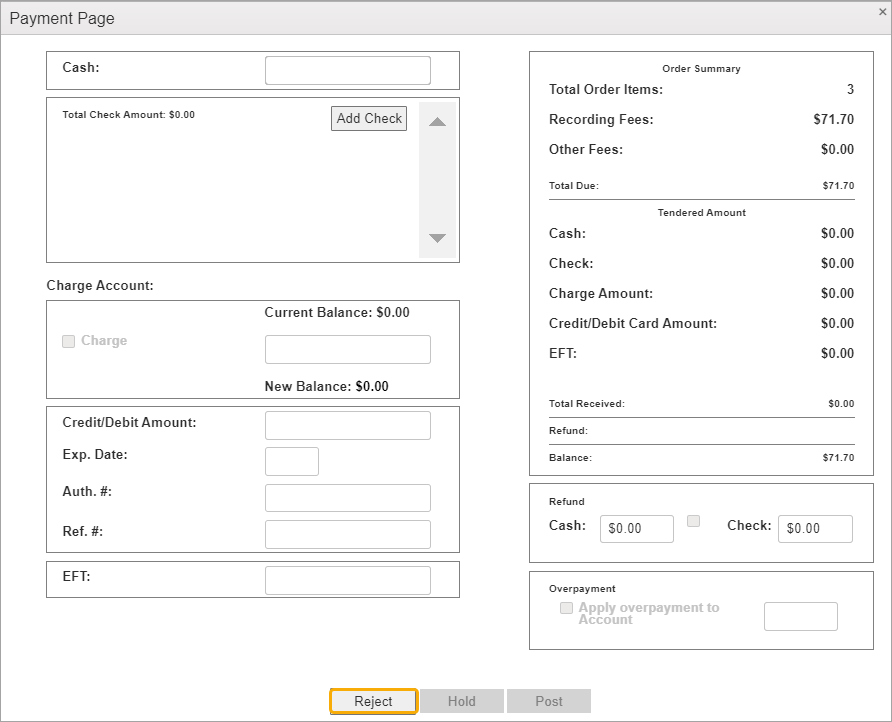
Let’s say you were ready to accept payment on an order and you clicked the Process Payment button on the Cashiering Home screen.

But now, on the Payment Page, you decide the order must be rejected. Maybe the check doesn’t cover the total amount, or it’s made out incorrectly, or there is another reason it can’t be processed.
Click the Reject button on the Payment Page.
Rejection Process
A confirmation message appears. Click Reject to continue.

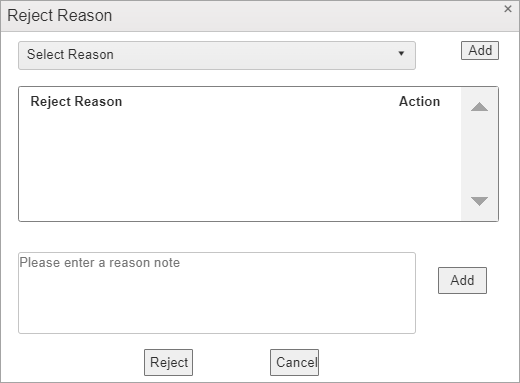
The Reject Reason dialog opens.
Enter a reason and click the Reject button.
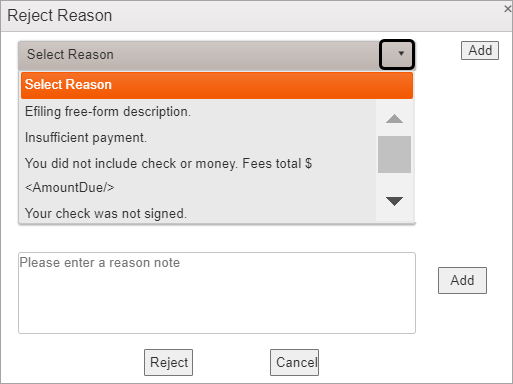
Use the dropdown to select a reason for rejecting the item.
Click the Add button to add the reason. To remove it, click Delete.
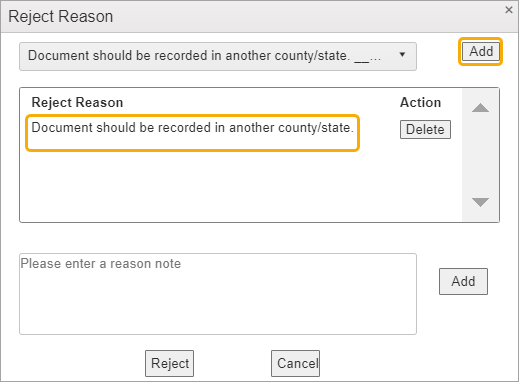
Click Reject when finished adding reasons. The item will be removed from the Cashiering grid.
If you want to add a free-form reason, type it in the lower box and click Add.
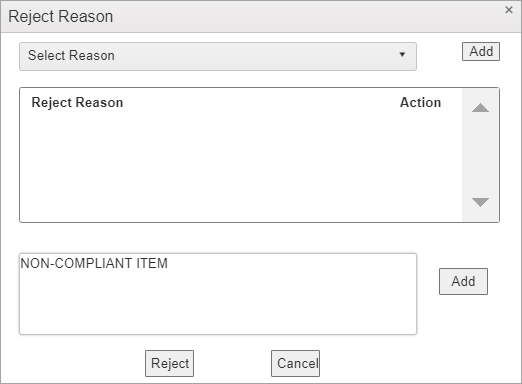
The reason will appear in the Reject Reason box.
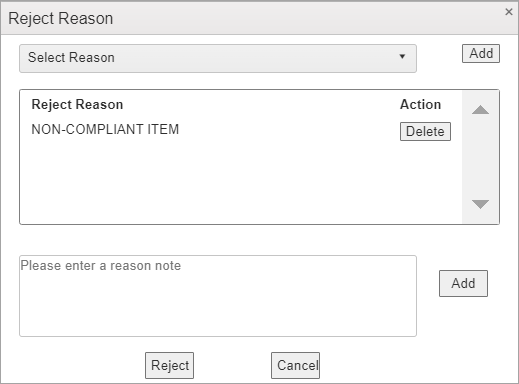
Click Reject when finished adding reasons. The item will be removed from the Cashiering grid.
After entering reject reasons, the document viewer opens the Reject Letter for you to make any edits necessary.
To print the letter, click the print icon in the toolbar.
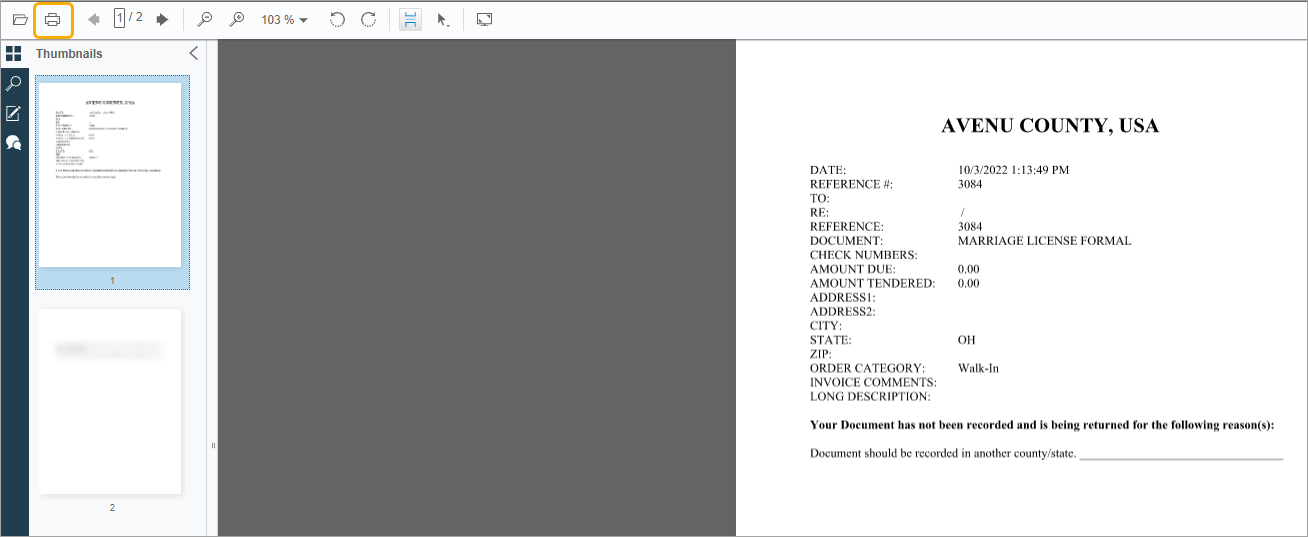
For more information, see Using the Document Viewer.